Photography
Our photography distinguishes the UF brand and plays a significant role in how we communicate. Whether we’re using existing photos or shooting new ones, each image should fall into one of the following categories: momentum moments, portraiture, environments, details, and spirit.
Photo Categories
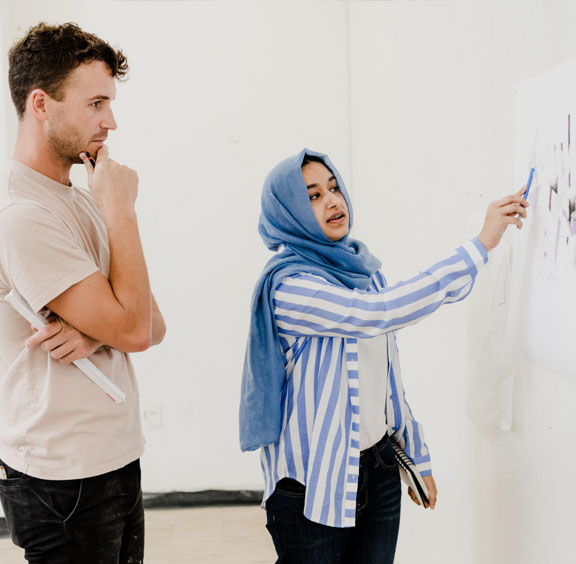
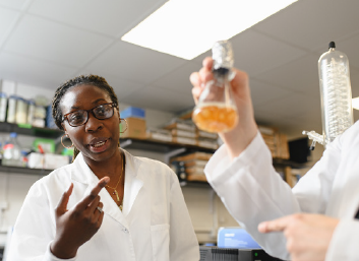
Momentum Moments
This action-oriented style of photography captures the UF work ethic both inside and outside the classroom.
“Momentum” photographs document both peer-to-peer collaborations and faculty-student interactions. Balance these group shots with images of individuals engaged in an activity or area of study.

Portraiture
When we use portraiture, we put a human face to our work. We want to show students, faculty, and staff in the best light, capturing them authentically.
When taking portraits, the focus should be on a single individual. Even when the subject isn’t the sole person in the photo, the eye should always be drawn to that one individual.
Environments
UF’s campuses’ vibrancy, community, and architecture are elements to show off, and these images paint the picture of our campus environment. Pepper sense-of-place shots throughout communications in a way that help the layouts breathe.
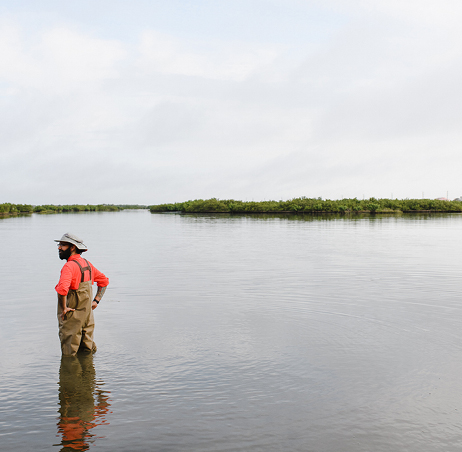

Details
Detail photography is a great way to highlight UF’s many unique aspects. We can feature our processes, tools, equipment, and achievements. We can also use these shots to showcase the everyday beauty of our campus.
Spirit
The energy, camaraderie, and sense of pride during social, competitive, and student-driven events are vital to the UF experience and our impact on the world. Though this imagery should never take the lead in depicting institutional and academic moments, it can support and round out our stories.

UF Photo Galleries
The UF Digital Asset Management System (DAM) is a collection of images and videos available to faculty and staff for use in digital and print materials related to the University of Florida. To find out more, visit UF DAM.
Composition Techniques
Photography is an essential component of how we communicate our story. The following guidance on photography techniques is designed to help establish a consistent and unique approach for capturing images to articulate that story. Not every technique will apply to every scenario we photograph. But with various approved compositional techniques, our photographers have greater flexibility to capture exciting and compelling images in any situation. These techniques also help our collective photo library to hang together with a consistent look and feel.
3X3 Grid
The objects and content of our photography are grounded on a 3×3 grid. This allows us to compose our shots based on the rule of thirds, which creates images that are aesthetically compelling and asymmetrically balanced and that reflect the forward movement that our creative platform expresses.
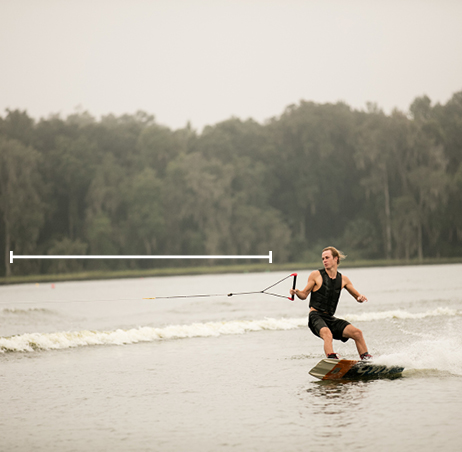
Space for Momentum
Building on the 3×3 grid allows us to apply negative space around our subjects easily. When the subject of a shot is active or moving, we intentionally create the negative space on the side where forward movement would happen.
For example, if you’re taking a shot of an athlete running, more space should appear in the frame in front of the athlete than behind. The idea is to include visual space for the photo’s subject to move into.
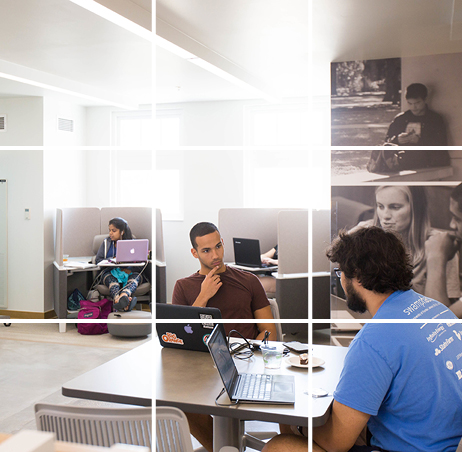
Framing Layers
Building layers of moments and framing one interaction with another are essential components of how we visualize momentum at UF. One way to convey this depth is by composing shots with a smaller frame within the larger photo. Look for elements such as windows, arches, and other objects that can frame a scene behind them. The frame does not necessarily have to surround the entire scene, but the effect should give the image a sense of depth.
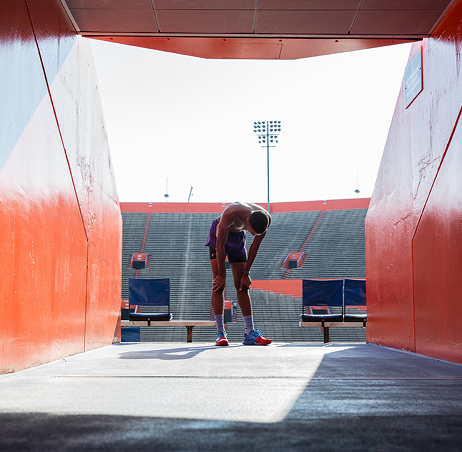

Leading Lines
Leading lines help direct viewers through the image and focus their attention on essential elements. Look for natural geometric lines, paths, or patterns that create a sense of depth and guide the eye toward the photo’s main subject.
Authentic Angles
Though photographing from various horizontal angles can create a sense of dynamic appeal, we always want our images grounded in reality and authenticity. The subjects of our photos should never feel small, warped, or stretched to heroic proportions. Therefore, shots should be limited to an even angle of 0º, or slightly below level by –10º to –25º. Never shoot from a higher angle or a bird’s-eye view.

Best Practices
A compelling image requires the right balance of many elements: composition, casting, lighting, equipment, and more. This section offers general recommendations for approaching some of the most common factors.
NATURAL LIGHTING
Our images are authentic and grounded in reality; therefore, we use natural lighting (or lighting that mimics nature) to highlight subjects. Light sources are placed slightly away from the camera, creating a natural sense of depth. Light sources should never come from the same angle as the camera, which flattens the image and removes the shadows.
For outdoor shoots, a slightly overcast day provides a lovely soft light that will be flattering for your subject. Direct sunlight isn’t usually desirable because it creates solid and hard shadows on the subject’s face. In such conditions, finding some light shade for your subject is best.
Fill lighting is appropriate. You can use reflected sunlight bounced back onto the subject’s face using a reflector or a simple white board.
When shooting indoors, put your subject near a window, with the room lighting off, and have the subject face slightly toward the light. You’ll get shadows on the parts of your subject which aren’t lit by the window light. If no windows exist, try bouncing a strobe light off a nearby wall to simulate the same effect.
LIGHTING FOR VARIOUS SKIN TONES
1. Position the light source carefully.
For a photo including people with different skin tones, place your primary light source away from lighter-skinned subjects and closer to darker-skinned subjects. This might mean you have to burn a little in post to ensure the subjects with lighter skin aren’t too bright. If you’re shooting outdoors, bring in a reflector, or have your darker-skinned subjects interact closer to the light source.
2. Draw on reflected light.
When shooting with natural light or flash, all skin types look better when the light is softer. Bouncing light or using diffusers helps reveal the complexity of everyone’s facial features. Use a diffuser to soften harsh sunlight, or shoot in the shade and find natural reflectors like light-colored walls or concrete on the ground. If using off-camera flash, use larger modifiers.
3. Use a hair light.
For subjects with any skin tone, dark hair tends to absorb a lot of light. Adding a hair light can bring out detail and texture in the hair, which can get lost if you’re only working with a single light.
Again, our images are grounded in reality, so ask your subjects to wear clothes that are authentic to who they are and (if applicable) their area of focus — such as a lab coat within a lab space. Subjects should never be overly styled or accessorized. Wardrobe selections should not have logos outside of UF branding.
Before capturing images, check your subject for anything distracting: lint or pet hair on clothes; uneven buttons or zippers; out-of-place collars or lapels; clothes that are riding up or half tucked in; a shiny forehead; and fly-away hairs. Always ask permission before approaching the subject, or have the subject adjust the issue independently.
No large non-UF images or logos should appear on clothing. In most instances, we are not looking for a formal or dressy appearance. Jeans and casual pants are acceptable. No shorts, please. Skirts and dresses are acceptable, but avoid overly short styles. T-shirts, polos, and casual button down’s are all appropriate. Avoid overly complicated print patterns and pure white.
In the case of lab photography, please be sure that all PPE used in the lab are included in the photograph.
Some of our photography is sourced from student ambassadors or communication partners at live events, where they use their smartphones to capture images instead of professional cameras. Here are a few best practices to help take full advantage of the photography capabilities of smartphones.
TURN ON GRID LINES
Navigate to settings, then to the camera, and toggle on grid lines. This will help you level the horizon, follow the rule of thirds, and center the subject.
CLEAN THE LENS
It sounds straightforward, yet many of us forget to do it! Whether you invest in a microfiber cloth or use the inside of your shirt, wipe off the lens before shooting an image. It will make the resulting photos much crisper.
TAP ON A SUBJECT TO FOCUS
Once you have the camera app open, tap the screen on the spot where you want the camera to focus. Once you tap, a box will appear around the focus areas.
ADJUST THE LIGHT BEFORE YOU SHOOT
After you tap the screen to set the focus, you’ll see a box and a sun icon appear. From here, you can hold your finger on the screen and drag it up to brighten the photo or drag it down to darken the image.
GET CLOSER INSTEAD OF ZOOMING IN
Zooming in digitally degrades the quality of the photo. So if you want more of the subject in the picture, take a few steps closer.
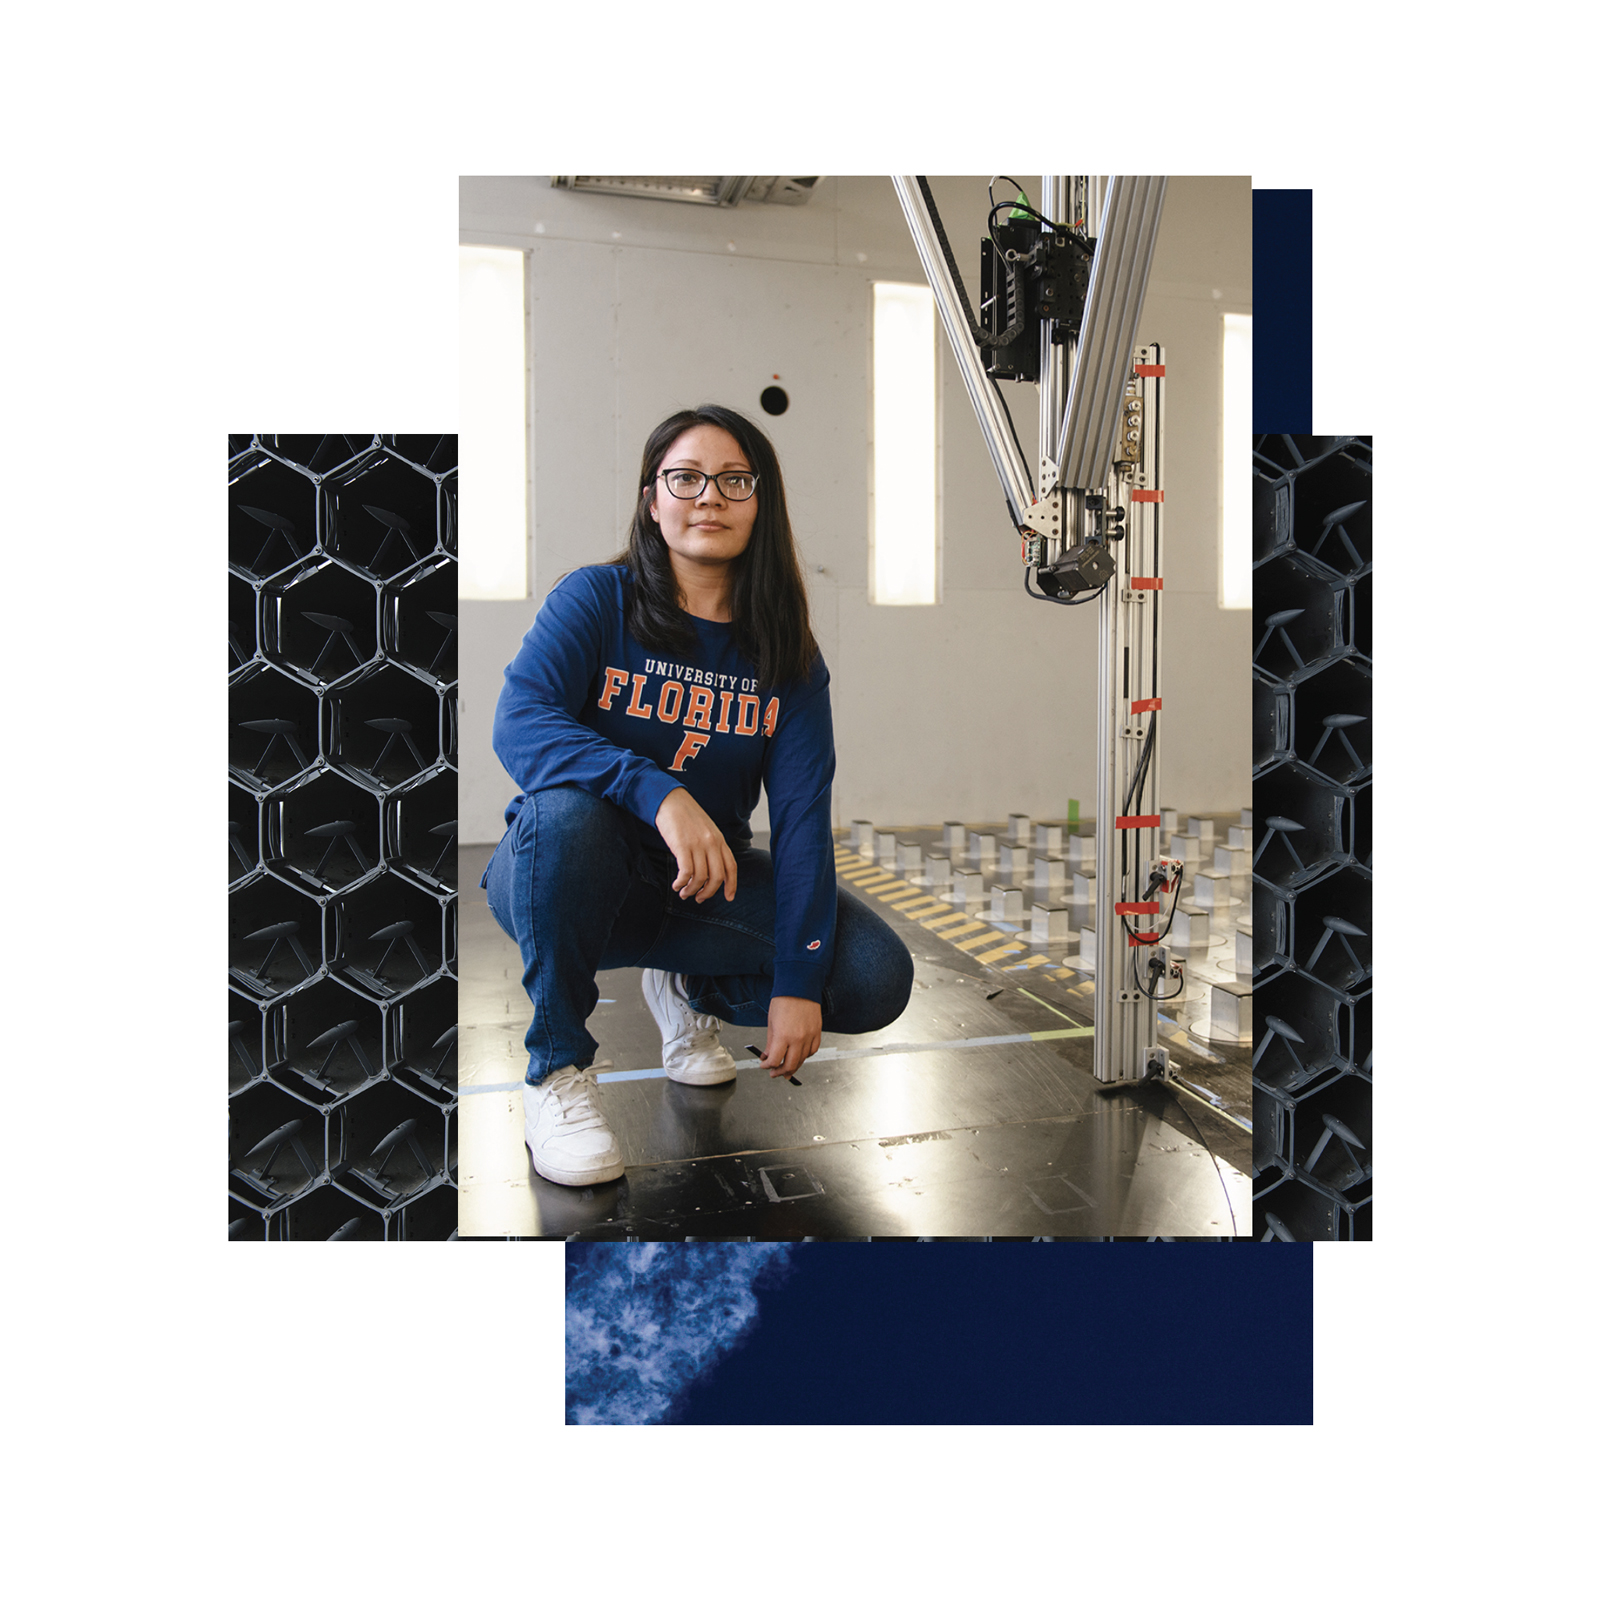
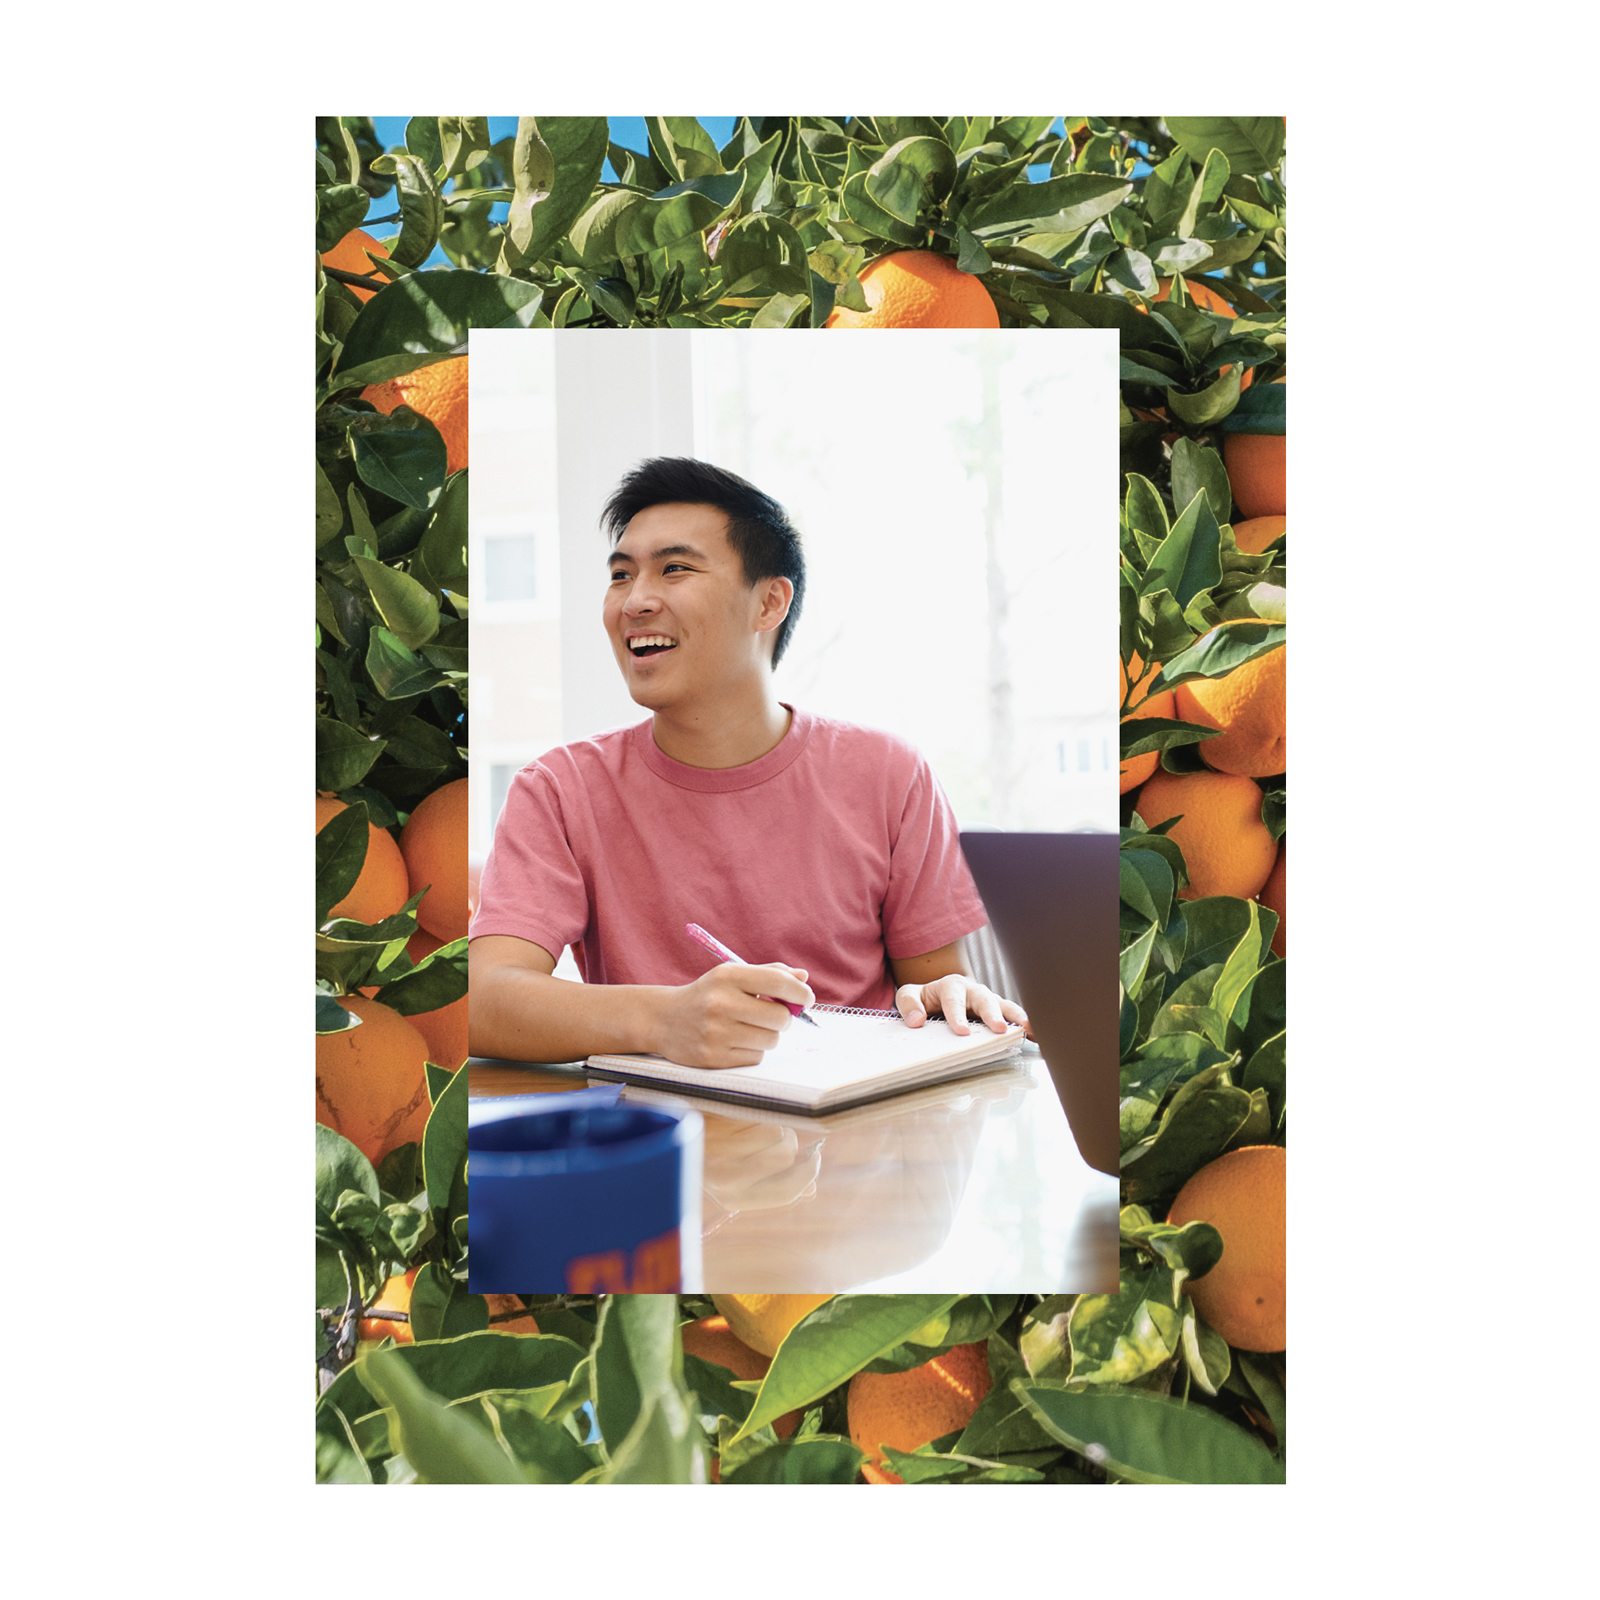
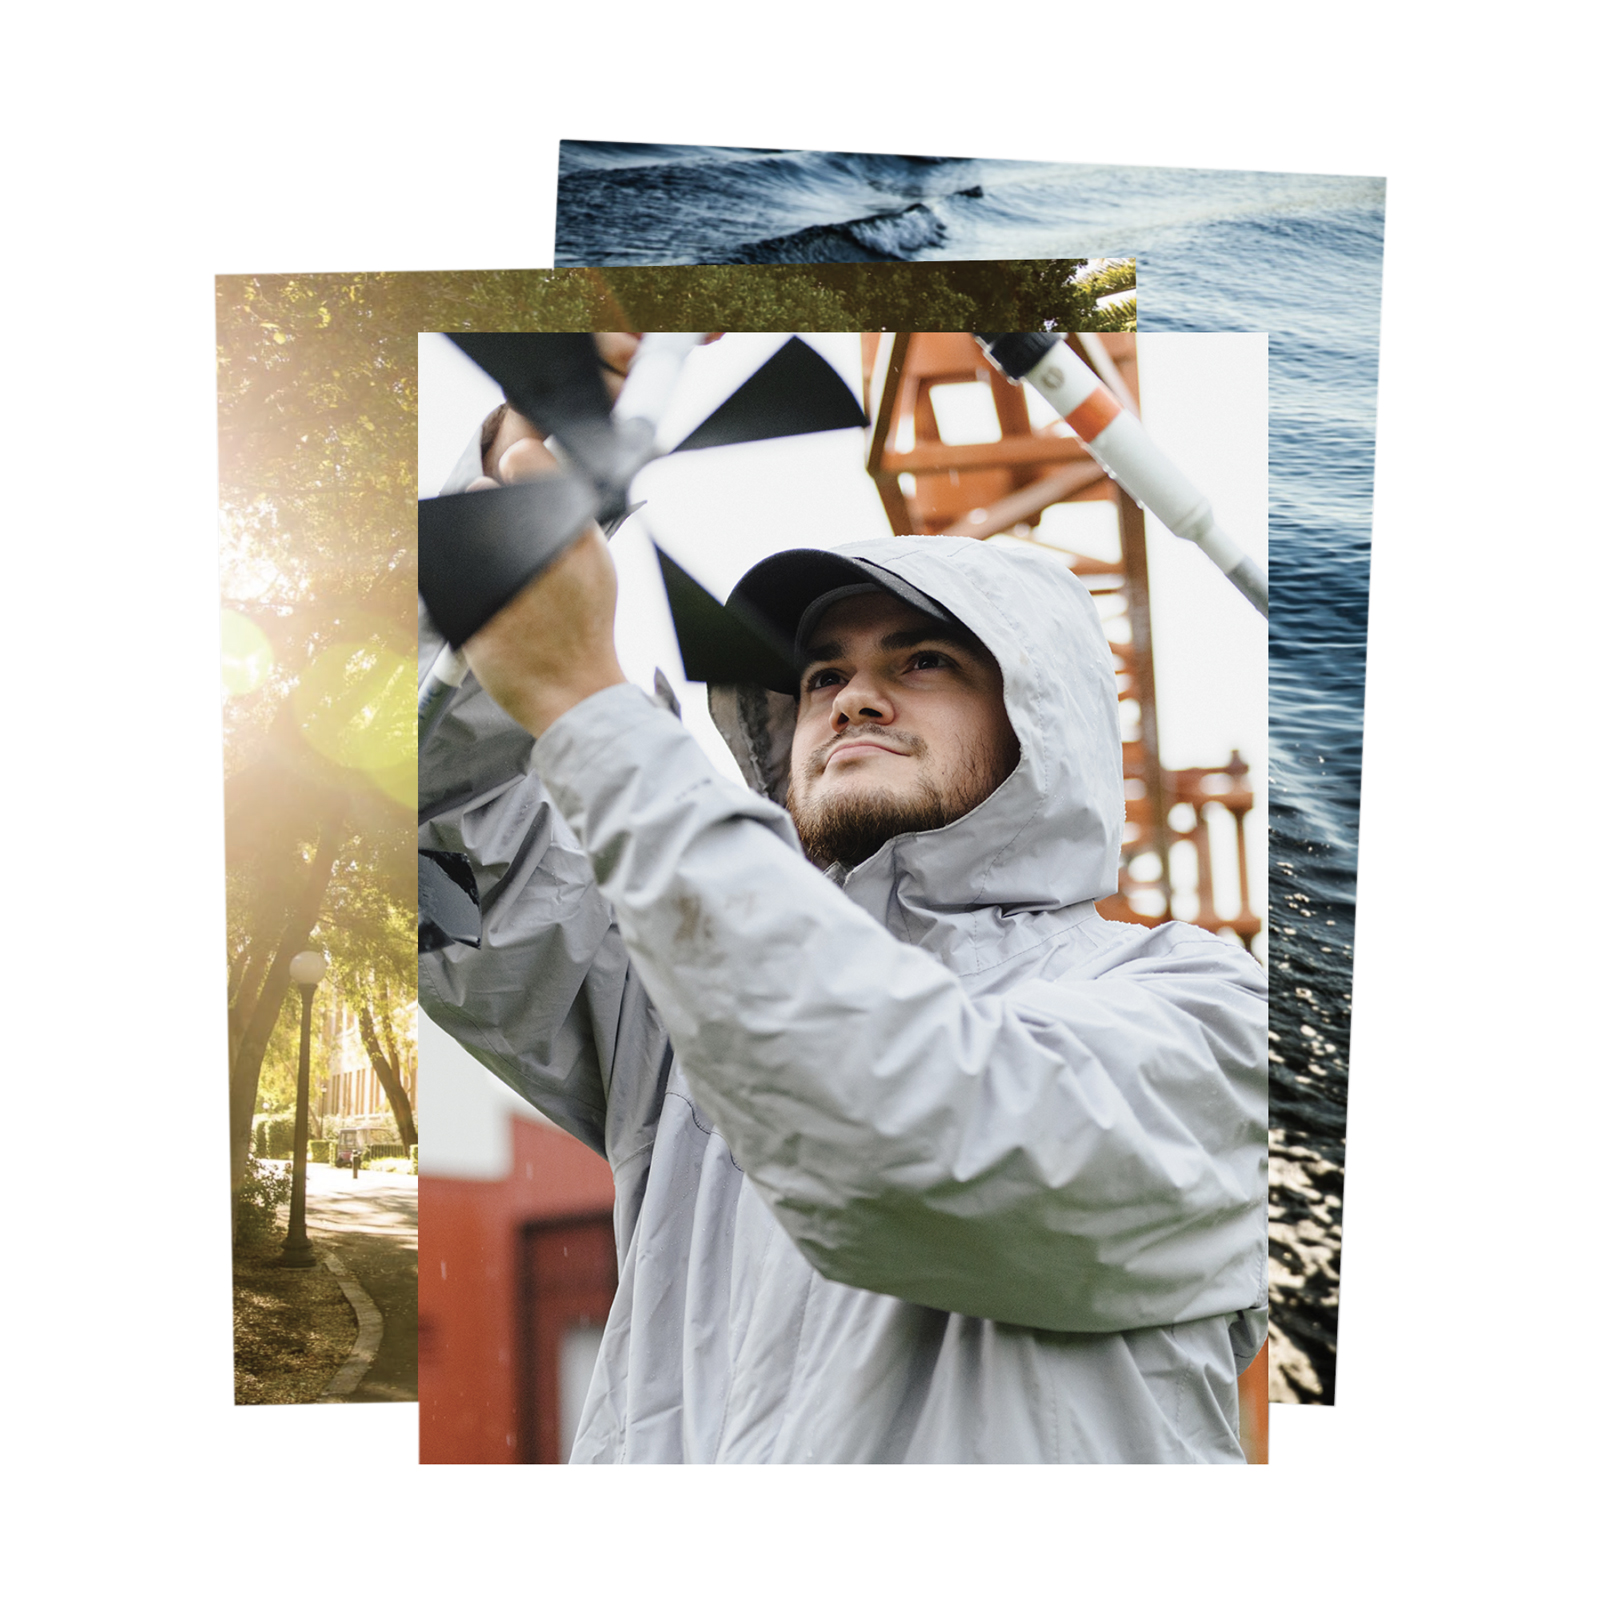
Layered Collages
Layered photography visually expresses the collision of ideas and the notion of an iterative process that constantly informs, builds, and inspires our forward momentum. This visual trope allows us to hint at the moments, the details, and the environments that all play into one primary shot, whether the primary shot is a portrait, an iterative moment, or the outcome of our focus.

PRIMARY LAYERS
MOMENTUM HIGHLIGHT
SUPPORTING LAYERS
SENSE OF PLACE AND PROCESS

Primary Image Selection
The primary image is the main focus of the collage and drives the decision for the second- and third-layer photos. The primary image is typically selected from the Portraiture or Momentum Moment category. Based on the complexity of the primary image, thoughtful consideration should be given in determining the types of supporting shots needed to produce a coherent, not cluttered collage.
Other Image Selection
Typically these images are pulled from our Environment and Detail photo categories. Their content should support the primary image’s content.
Considerations for approaching these secondary shots are like thinking through the progression of a story: Where did the primary image take place? Is there a detail of the primary image? What impact has the primary image made? As the subject matter is determined, consider the color story and the visual energy these shots bring to the collage.